Measuring Your Foam
Measure your original foam so you will know which Refoam Kit is right for you. It is important to measure the FOAM only and not the frame or cone. Measure the inside and outside diameter of the original foam. Even if the foam has completely disintegrated, you should still be able to see a line where the adhesives were or where the foam once was.
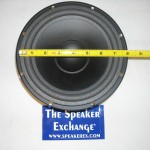 Imagine your speaker is a clock. You can find the OD (outside diameter of the foam) by measuring from the outside edge of the original foam at 9:00 all the way across the center of the speaker to the other outside edge of the foam at 3:00. To get the ID (inside diameter) do the same thing from the inside edge of the foam across the center (9:00 and 3:00) of the speaker to the other inside edge.
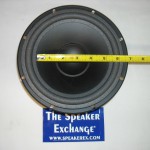
Do not measure the frame. Some speakers have an extra large outside flange on the frame that can cause confusion. Do not measure the cone. If there is a gasket, remove it so you can measure the foam edge under it. When evaluating, remember, the inside edge of the foam will overlap the outside edge of the cone by approximately 1/4″ (0.250).
If your foam mounts to the back of the cone, you must add at least .25″ (6.35 mm) for each side of the ID or another .5″ (12.70 mm) to the ID of the foam. 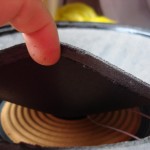
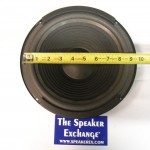 The same minimum of .25″ must be taken into account if a gasket covers the OD of the foam. You need to add another .25″ (6.35 mm) for each side here too.
It is easy to be misled if the frame is wider than most. This will not affect the foam measurement. 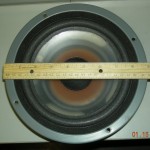
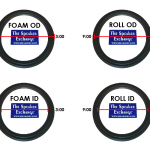
The FOAM OD + ID vs ROLL OD + ID can be confusing too. See if this helps….. You can click on all images for larger views.
If you need help, send a picture of the speaker and tape measure. Be sure we can see from one outside edge to the other outside edge (9:00-3:00). Tell us the brand and we will respond with our opinion.

